

Full Video Guide
Full Written Guide
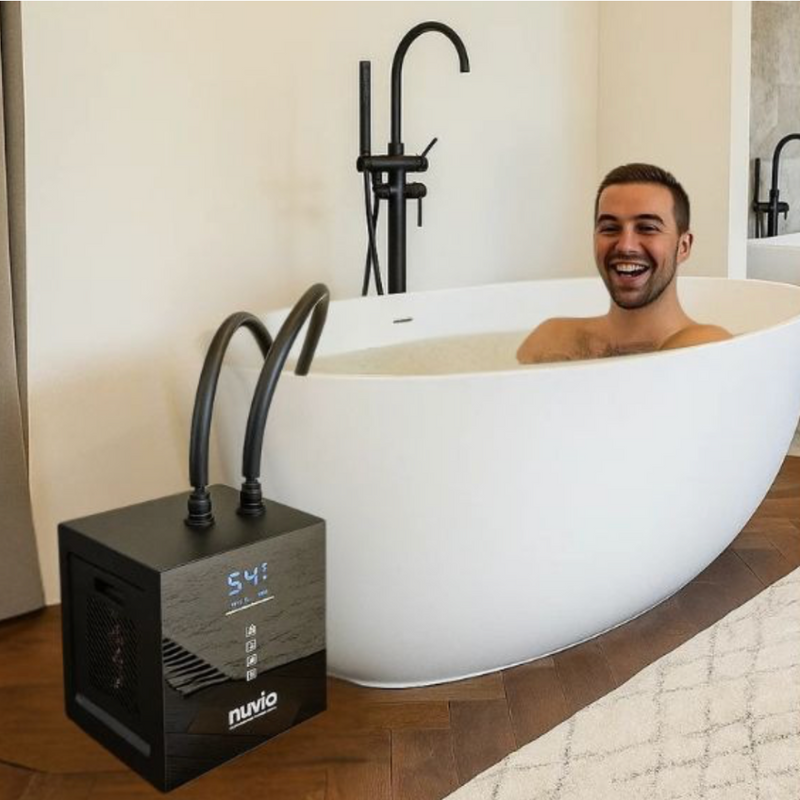
1. Where To Set Up
Set up in the coolest spot possible, ideally indoors or in a shaded outdoor area to significantly improve cooling efficiency.
The Chiller works like A/C: leave it on 24/7 and it will cool to and hold your set temperature energy-efficiently.
Cooling speed isn’t what matters - only that your plunge is ready at the right temperature when you are. You can also switch it off anytime for flexibility or to free up your tub if needed.
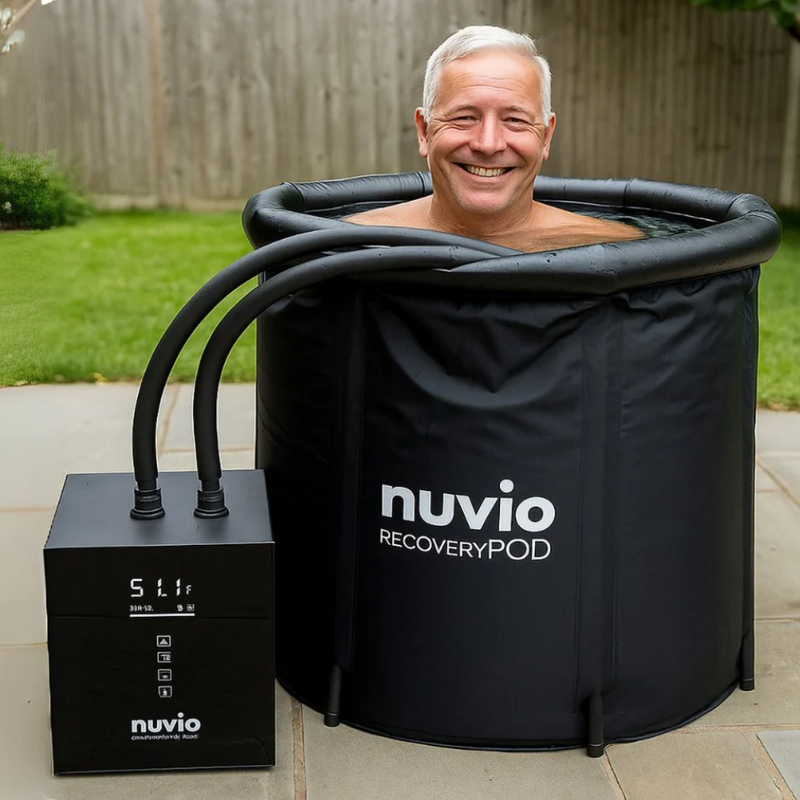
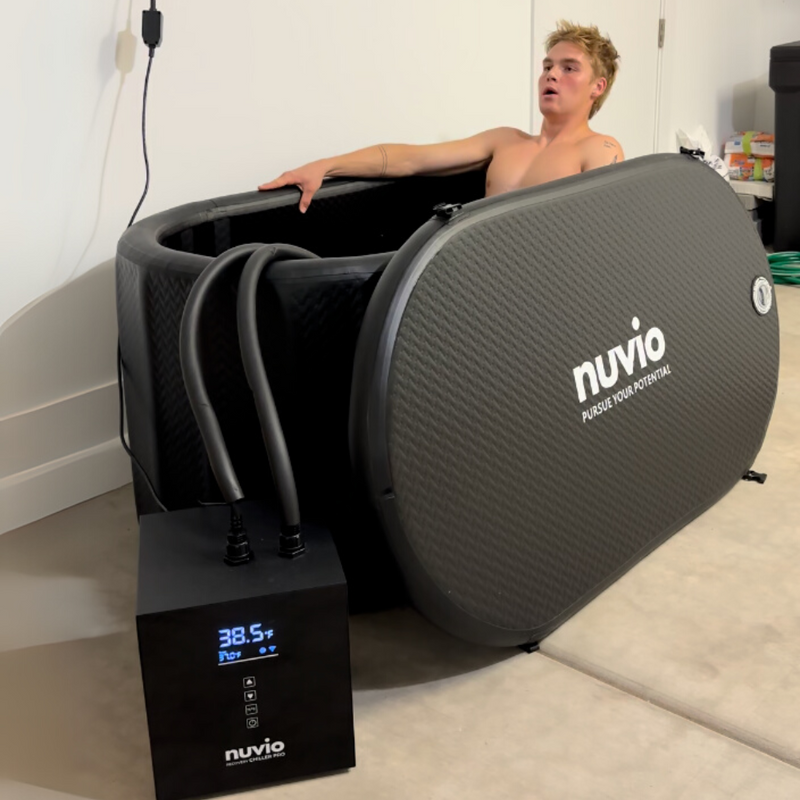
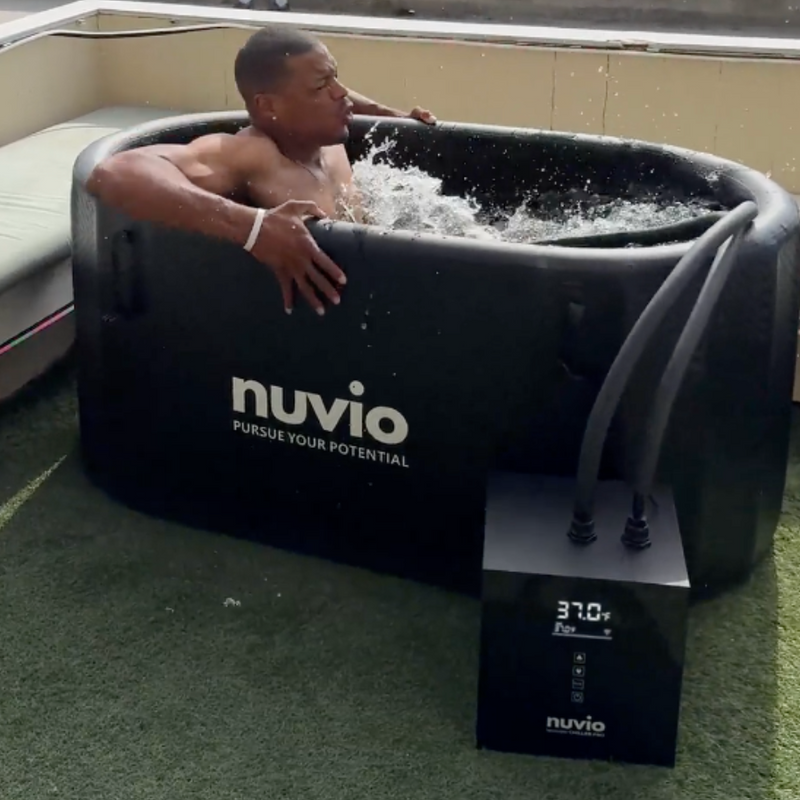
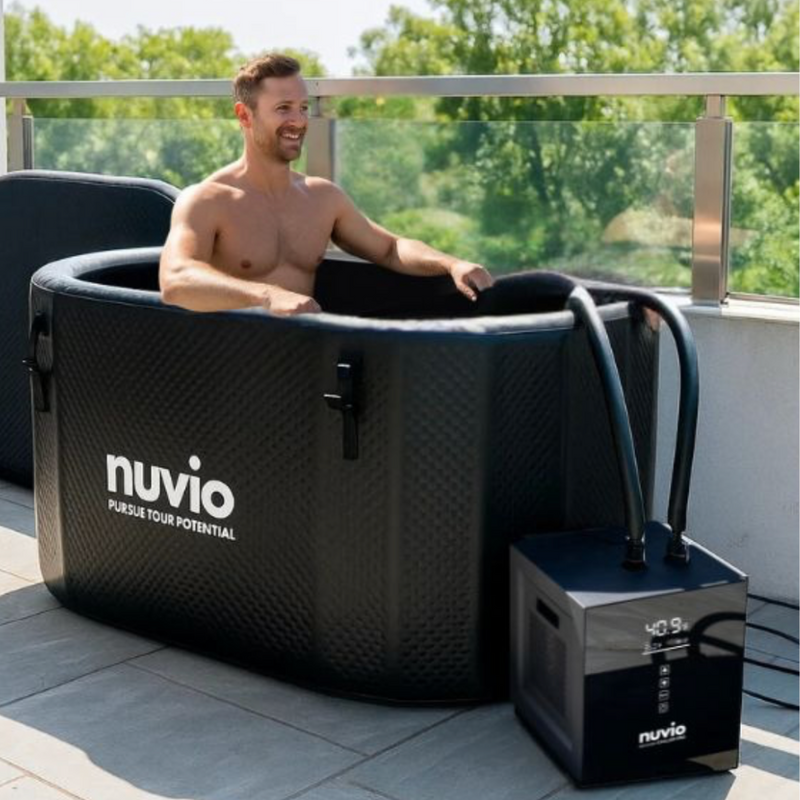
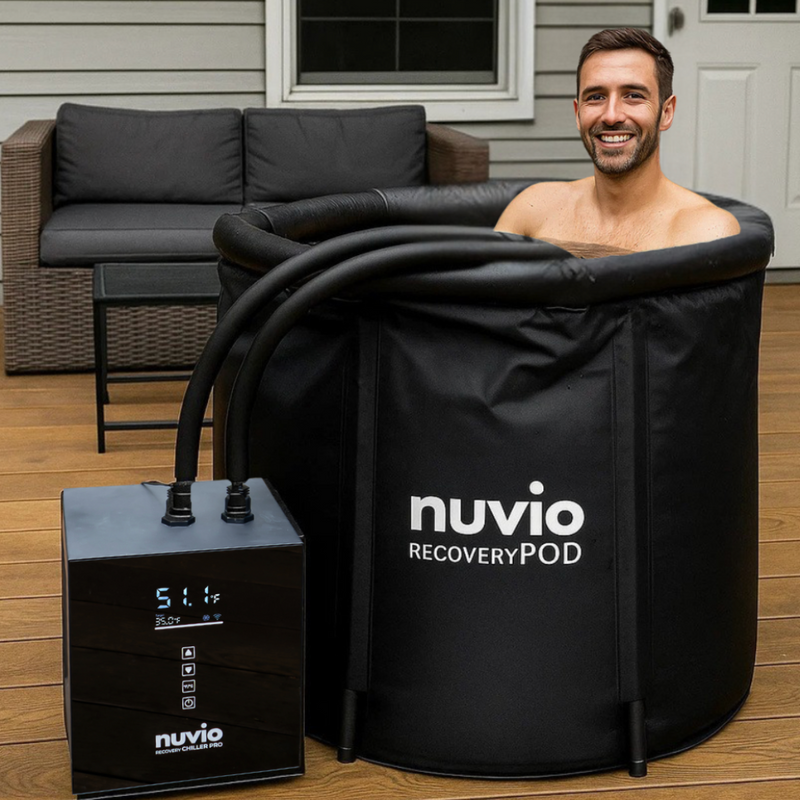
If you're in a hot climate, we recommend pairing with the Long Recovery Pod Pro for maximum insulation, whilst also having durability, comfort & a dedicated plunge setup.


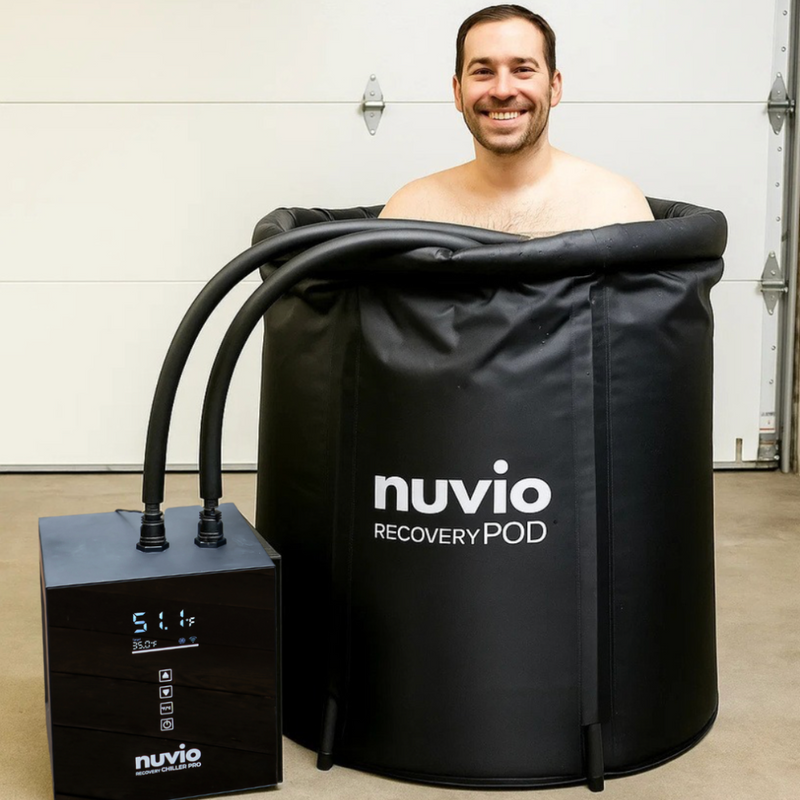
If you want an insulated pod that's more affordable and compact, check out our Recovery Pod.


2. Chiller Setup
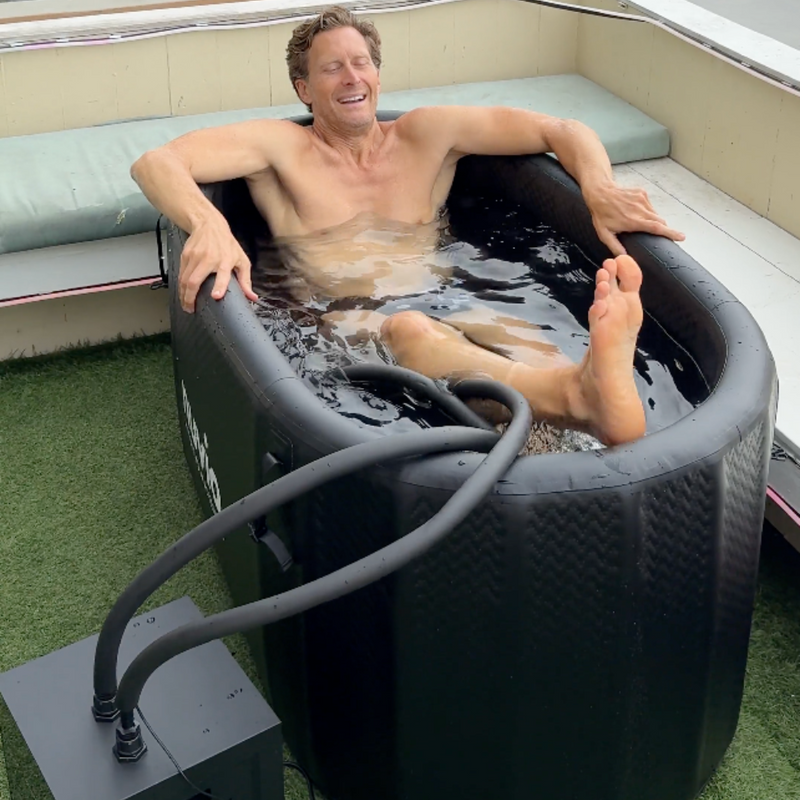
1. Tub/pod setup & filling: If you're using the Chiller Pro with one of our Pods, first follow the setup guide to set it up and fill it (if you're using any other tub, fill it):
Long Recovery Pod Pro Setup & Manual
Recovery Pod Pro Setup & Manual
Recovery Pod Setup & Manual
For efficient cooling, always fill it to the lowest level possible where you can still submerge your body.
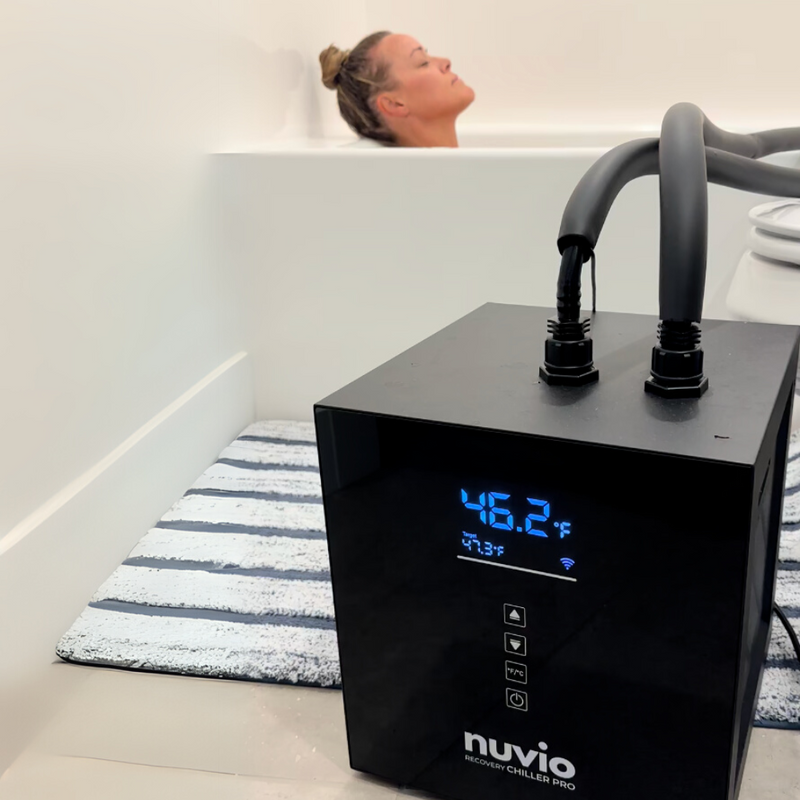
2. Positioning the Chiller: Unbox the chiller & place it on a flat, stable surface next to your tub or pod. Keep at least 20 inches of space on all sides of the Chiller for proper airflow and DO NOT cover it. Then remove the protective film from the Chiller screen.
3. Connecting the pump filter: Take the hose with the water pump attached and gently pull to remove the black cap from the end and store it safely. Then twist to securely connect the provided stainless steel filter.
4. Connecting the pump hose: Take the hose with the water pump attached and connect it to the left port of the Chiller (tighten as much as possible and ensure the black rubber gaskets are included to avoid leakage). Fully submerge the water pump and stainless steel filter in the water. Then plug the pump power cord into the back of the Chiller (it's important that you do this AFTER fully submerging the pump).
5. Connecting the other hose: Take the other hose with the weighted water filter attached and connect it to the right port of the Chiller (tighten as much as possible and ensure the black rubber gaskets are included to avoid leakage). Place the hose in the water and keep it separated from the other hose to improve water circulation. An optional step for added stability is to slide the provided clamps over near the end of the hoses by the Chiller ports and tighten them securely.
⚠️ Important: Ensure the black rubber gaskets are in place inside the hose connectors and tighten as much as possible to prevent leaks. Monitor for leaks during first use, and tighten if needed.
6. Powering on the Chiller: Plug in the Chiller using the provided power cable and switch on at the power socket.
7. Downloading the App: Download the Nuvio App on the Apple App Store or Google Play Store on the device(s) you want to control the Chiller with.
8. Connecting the App: Open the Nuvio App and create an account, then link the Chiller to your device.
3. Controlling The Chiller
You can use the Chiller screen. But, we strongly suggest using the Nuvio App for all control of the Chiller.
The Nuvio app is available for download on both the Apple App Store and Google Play Store.
- Control from anywhere: Adjust your plunge settings on the go so it's ready when you are.
- Purify with ease: Start or schedule a cleaning cycle with the built-in ozone generator to kill all bacteria and keep every plunge fresh.
- Track every session: Use in-app timers and logs to stay consistent and monitor progress.
- Schedule cooling: Make cooling automatic by scheduling for mornings, post-workouts, or whenever suits you.
4. Cleaning & Maintenance
Cleaning
The integrated ozone generator eliminates bacteria, while the reusable stainless steel filter offers long-lasting filtration. No replacement filters or parts ever needed. Simply wash and clean the filter once per week.
For enhanced cleaning and a fresh scent, try our natural, skin-friendly

Maintenance
You can leave the chiller running 24/7, but we recommend turning it off for 1-2 hours once per week to optimize system efficiency.
Storage
Before storing your chiller, make sure to fully drain all water using the drainage port. This helps prevent freezing damage during colder months and minimizes the risk of bacteria buildup.
5. When To Plunge
Morning plunges are best. They energize your body and mind, boost focus, and set a positive tone for the day—without lingering pain or grogginess. Cooler night air also gives the Chiller plenty of time to reach your set temperature.
Consistency is key. Aim for at least 3 plunges per week—ideally daily. A regular routine leads to lasting benefits: reduced pain and soreness, higher energy and focus, calmer mood, deeper sleep, and more.
The Chiller Pro makes staying consistent easier than ever, so you can build a routine that truly transforms your life.
6. Optimal Plunge Duration & Temperature
For Beginners: Start warmer and focus on time. Begin at 49–52°F and stay in as long as comfortable (up to 2 minutes). Even 30 seconds delivers big benefits. Each plunge, either add 15–30 seconds or lower the temperature by 1–2°F. This makes the habit less intimidating while still unlocking powerful results.
For Experienced Plungers: Aim for 45–47°F and stay in as long as comfortable (up to 5 minutes). It may feel less cold than expected, but research shows this range gives optimal recovery benefits. Start shorter, then build up duration & slowly lower the temperature over time for maximum impact.
7. Bonus Recovery Tips
Struggling with motivation? Try a sauna session first—heating your body makes it naturally crave a refreshing plunge. This not only makes the mental barrier easier to overcome but also unlocks the powerful benefits of contrast therapy (switching between hot and cold). The Recovery Sauna is perfect for this.
Also, evening sauna sessions helps you unwind, recover from exercise, and prepare your body for deeper, more rejuvenating sleep.

Still Got Questions?
Visit the Help CenterSpeak To Our Support Team?
Contact UsManual
Specifications
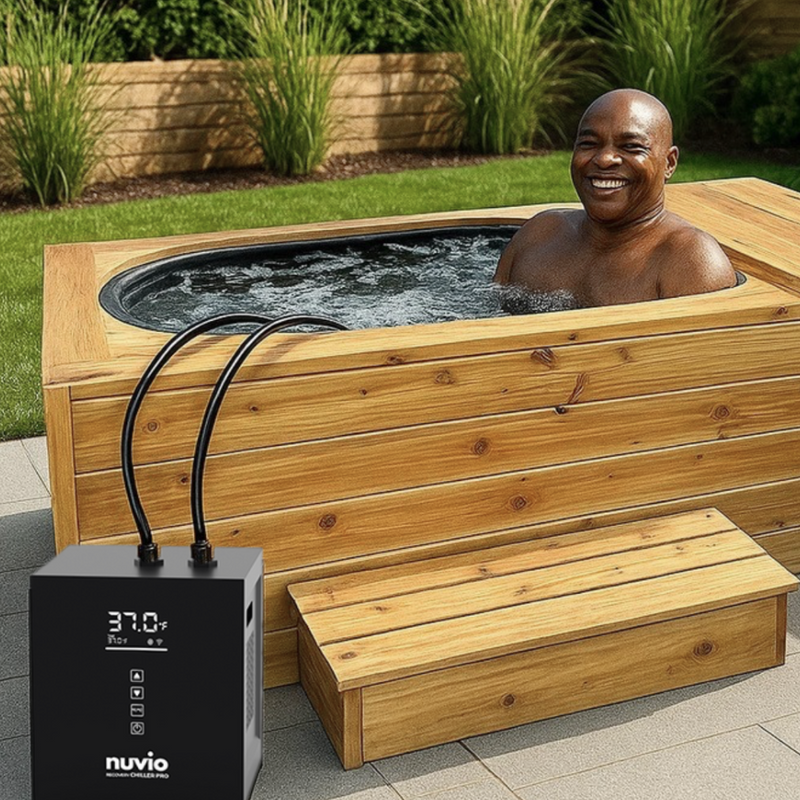
- Cooling Performance: Cools to as low as 37°F, working effectively in hot climates
- Cooling Time: Cools to our recommended ice bath temperature of 49-52°F in 1-3 hours (starting at 60-70°F)
- Energy Efficiency: Auto on/off to maintain set temperature and reduce energy usage (approximately $0.19 per day)
- App: WiFi-enabled - control via our user-friendly iOS/Android mobile app for effortless temperature control
- Cleaning: Ozone generator purification via the app
- Filtration: 24/7 water flow with dual filtration (easy to clean washable filter)
- Power: 1/3 HP, 330W, 110V US plug
- Size & Weight: 12″ × 12″ × 14″, 35 lbs (compact and easy to move)
- Noise Level: Quiet operation at 40–50 dB (comparable to a fridge)
- Pump Specs: 20W, 12V DC, IPX8 waterproof
What's Included
1 x Recovery Chiller Pro
2 x Chiller Port Caps (already screwed on)
2 x Hoses (with screwable connectors)
2 x Hose Clamps
1 x Weighted Water Filter
1 x Integrated Water Pump
1 x Stainless Steel Filter
1 x GFCI Power Cable
Handy Spare Parts
1 x Gasket (for the stainless steel filter)
1 x Foam Filter Insert (for the integrated water pump)
1 x Drainage Port Insert
How The Cooling Works
1. Set your ideal precise temperature via our FREE app or touchscreen display
2. The water is filtered, pumped into the chiller, then cooled to your set temperature
3. The cooled water is recirculated back into the connected tub
4. It reaches and automatically maintains your set temperature energy efficiently 24/7
5. You can schedule cooling via the app to minimize energy usage
FAQs
Why use a Chiller instead of ice?
Using ice is expensive, messy, and inconvenient. The Chiller cools your water for just $0.19 per day on energy (about $69 per year)—a tiny fraction of the $20/day you'd spend on ice, paying for itself in just one month.
Bonus: Unlike ice, the Chiller also cleans and filters your water, so you don't need to empty and refill your tub after every use—saving you time, effort, and water.
How cold does the Chiller get?
The Chiller cools water down to as low as 37°F, giving you full control over your cold plunge experience to maximize benefits.
How often should I ice bath, and at what temperature?
For best results, we recommend ice bathing daily, though even once a week can deliver noticeable benefits. The ideal temperature range is 49–52°F, which provides all the benefits of cold plunging while minimizing energy usage.
How long does it take to cool?
It reaches our recommended optimal temperature of 49–52°F in 1–3 hours from average U.S. tap water (60–70°F).
What cleaning is required?
Minimal maintenance is needed. The Chiller uses ozone purification and dual-filtration to keep your water clean. You can activate cleaning with a single tap or set it on a schedule—no manual scrubbing or frequent draining required.
How does the app work?
The Chiller connects to our free mobile app, letting you control temperature, start or delay cooling and cleaning remotely. You can also time and track your plunges, monitor progress, and share results—all in one simple, user-friendly interface.
Can I run the Chiller continuously?
Yes. The Chiller is built to run 24/7 and will automatically turn on and off to maintain your set temperature energy-efficiently.
Does the Chiller work outdoors in extreme temperatures?
Absolutely. It’s engineered to keep your tub icy-cold even in high and low outdoor temperatures.
Is the Chiller compatible with any tub?
Yes! It’s designed for universal compatibility. If your tub holds water, the Chiller will work with it.
Is the Chiller safe to use?
Yes. It’s built to meet strict safety standards and thoroughly tested. Just follow the instructions provided and always use it with care.
Why is this Chiller more affordable than others?
We keep our margins low so you get premium cold therapy without inflated pricing. Our mission is to make recovery accessible, and our loyal community is built on delivering value, not overcharging.
Is the Chiller HSA/FSA eligible?
Yes! You can pay with HSA/FSA at checkout and enjoy extra savings.
Warranty, Refunds & Returns
We stand by the performance of our products with a 1 Year usability guarantee from the delivery date. We quickly provide a replacement and return label when there are any issues that aren't due to improper use or care. Our standard approach is to issue a replacement rather than a refund when necessary.
If you have any issues at all that aren't due to improper use or care, do not hesitate to contact us right away and our 24/7 customer support team will work closely with you to resolve it as quickly as possible.
Rest assured that our number one priority is you - our customer.
⚠ WARNINGS
By purchasing, using, or allowing others to use Nuvio’s chiller products, you acknowledge that you have read, understood, and agree to the following terms and conditions:
MANDATORY MEDICAL CONSULTATION:
Users MUST consult a licensed physician or qualified medical professional before using any Nuvio chiller product. Nuvio is not responsible for any adverse effects resulting from failure to obtain proper medical clearance.
PROHIBITED USE:
- Do NOT use Nuvio products if you are under 18 years of age.
- Are pregnant or possibly pregnant.
- Have a history of heart disease or high blood pressure.
- Have diabetes or related complications (e.g., neuropathy, retinal damage).
- Have a pacemaker or other implanted medical device.
- Have a history of frostbite or other cold-related injuries.
- Have Hyperlipidemia.
- Have had recent surgery (within the last six months).
- Have epilepsy or a history of seizures.
- Have any other health concerns or risks not listed above.
- Have ever experienced an adverse reaction to cold water exposure.
SUPERVISION REQUIREMENT: Adult supervision is MANDATORY for children and vulnerable individuals near a water-filled ice bath or chiller. Under NO circumstances should children or vulnerable adults enter the ice bath due to drowning risks and potential health complications from cold water exposure.
Preparation Protocol:
- Ensure the ice bath area is clean, dry, and trip hazards-free.
- Place non-slip mats around the ice bath to prevent accidents.
- Keep a phone nearby in case of emergencies.
- Have a buddy system in place - never use the ice bath alone.
- Set a timer for your session to avoid overexposure.
Hydration & Nutrition:
- Hydrate well before and after your ice bath session.
- Avoid using the ice bath on a full stomach or when excessively hungry.
- Wait at least 2 hours before using the ice bath after a heavy meal.
Gradual Acclimation:
- For new users, start with shorter sessions and gradually increase the duration.
- Beginning with water temperatures around 59°F (15°C), slowly decreasing.
- Listen to your body and exit immediately if you experience extreme discomfort, numbness, or dizziness.
Electrical Safety:
- NEVER leave the water pump switched on when using the ice bath.
- You MUST unplug/turn off the water pump AND the Chiller unit prior to entering the water.
- NEVER touch or operate the chiller unit with wet or damp hands.
- Ensure all electrical connections are properly grounded and protected from water splashes.
- Regularly inspect power cords for any signs of wear or damage.
Pre-use Inspection (Leak Detection & Prevention):
- Check the unit, all tubes & connections for leaks prior to each use.
- Implement a systematic leak check procedure, inspecting all connections and potential weak points.
- Verify that all components are securely fastened and in good working condition.
- Clean & sanitize the ice bath & chiller regularly to prevent bacterial growth.
Maintenance & Storage:
- Store the chiller unit in a dry, cool place when not in use.
- Monitor the cleanliness of the ice bath regularly and establish a cleaning schedule based on its frequency of use and visible signs of contamination.
Ventilation Requirements:
- NEVER cover the chiller unit with any objects.
- Ensure at least 20 inches (50 cm) of clear space around the chiller for proper ventilation.
- DO NOT install the chiller in closets, cabinets, or small, unventilated spaces.
- Operate the chiller in a well-ventilated area to prevent overheating.
- Ensure the entire room is well ventilated to safely operate the ozone generator.
Operational Precautions:
- Keep fingers & objects away from the ventilation grill & other chiller parts.
- Exercise extreme caution when operating near children and the elderly.
- NEVER turn or store the chiller unit upside down or on its side.
- Please DO NOT climb, sit, or stand on the chiller unit, and do not place objects on top of it.
- Monitor water temperature regularly using a reliable thermometer.
- Avoid sudden temperature changes - allow the system to adjust gradually.
Emergency Procedures:
- CRITICAL: Familiarize yourself with the location and operation of the kill switch before using the chiller unit. This kill switch serves as an emergency shut-off mechanism.
- Familiarize yourself with the emergency shut-off procedure for the chiller unit.
- Keep a first aid kit and emergency contact information readily accessible.
- In case of any malfunction, immediately exit the ice bath and turn off all equipment
DANGER: Electricity can cause severe injury or death. Your safety is paramount. Before operating any Nuvio equipment, you MUST read, understand, and follow all warnings and instructions in this section and the full instruction manual.
Water Pump Operation:
- NEVER leave the water pump switched on when using the ice bath.
- You MUST unplug/turn off the water pump prior to entering the water.
- The Chiller unit must also be turned off before entering the water.
- Implement a double-check system: verify that the pump & chiller are off, then verify again.
Keeping Equipment Dry:
- Maintain a completely dry environment around all electrical components.
- DO NOT immerse, splash, or spray the chiller unit with water.
- If the unit becomes wet: a) Immediately unplug it from the power source. b) Do not attempt to operate the unit. c) Have the unit inspected and cleared by a qualified technician before further use.
Malfunction Response:
- Unplug the chiller unit immediately if: a) It stops working unexpectedly. b) It fails to operate when switched on. c) You notice any unusual sounds, smells, or performance issues.
- Do not attempt to use or repair a malfunctioning unit yourself.
- Contact Nuvio customer support for guidance.
Power Connection:
- Ensure the chiller unit is plugged into a suitable electrical socket or extension cable that is: a. Properly grounded b. Equipped with a built-in surge protector, c. Rated to handle the power requirements of the unit
- Avoid using multiple adapters or overloading circuits.
Proper Grounding:
- ALWAYS plug the chiller unit into a properly grounded electrical outlet.
- Use only grounded extension cords rated for the power requirements of the unit.
- NEVER remove the grounding prong or use an adapter to bypass it.
Circuit Protection:
- Use a dedicated circuit for the chiller unit when possible.
- Ensure a suitable circuit breaker or fuse protects the circuit.
- Install a ground fault circuit interrupter (GFCI) for additional protection.
Inspection and Maintenance:
- Regularly inspect all power cords, plugs, and outlets for signs of wear or damage.
- Replace any damaged electrical components immediately.
- Schedule professional electrical inspections annually.
By using Nuvio products, you agree to waive any and all claims against Nuvio, its affiliates, employees, and representatives for any injury, loss, or damage resulting from the use or misuse of our products. You acknowledge that cold water immersion and ice bath chillers carry inherent risks and assume full responsibility for your safety and well-being during use.
Indemnification:
You agree to indemnify and hold Nuvio, its affiliates, employees, and representatives harmless from any claims, damages, or expenses (including legal fees) arising from your use or misuse of our products or failure to follow the safety guidelines outlined in this disclaimer.
Assumption of Risk:
You understand and acknowledge that the use of ice baths and ice bath chillers involves potential risks, including but not limited to hypothermia, shock, drowning, and worsening of pre-existing medical conditions. You voluntarily assume all such risks, both known and unknown, even if arising from the negligence of Nuvio or others.
Nuvio is not responsible for misusing or failing to follow these safety instructions. Use of Nuvio products is PROHIBITED without fully reading and understanding all provided materials, including but not limited to:
- User manual
- Set-up guide
- Safety notices
- Best practices documentation
It is the user’s sole responsibility to ensure that all products are:
- Operating correctly.
- Used in alignment with the user manual.
- Performing within the product performance guidelines upon receipt.
Any modification, alteration, or improper use of Nuvio products voids all warranties and may create dangerous conditions. Use the equipment sparingly if you need clarification on any aspect of operation or safety. Before proceeding, contact Nuvio customer support for clarification.
Positioning:
- Always keep the chiller unit upright on a stable, level surface.
- Secure the unit to prevent tipping during transportation.
- Use appropriate lifting techniques and equipment when moving the unit.
Post-Transportation Settling:
- After any transportation, allow the chiller to remain stationary for at least 24 hours before use.
- This waiting period is crucial to allow the refrigeration gas to settle properly.
- Failure to observe this settling period may damage the compressor and void your warranty.
Share & Earn $50 Per Referral Inspiring Others
Our average ambassador earns $465/month by simply sharing their unique referral code with friends, family and posting their experience on socials.